My Summer DIYs
One of my new year resolutions was trying my hand at fun little projects I could do at home and as we ease into the final quarter of the year, I’m proud to report I accomplished this goal. These projects might not seem impressive or even noteworthy, but I strongly believe it’s the little successes that matter the most.
I made Lavender Simple Syrup


I love lavender-flavoured treats and wanted to try adding a simple syrup to my go-to summer drink, lemonade. As the name suggests, it was indeed simple to prepare. Two cups of water, two cups of sugar, and a tablespoon of dried lavender buds brought to a boil. Let it sit (covered) for 30-40 minutes and then drain the lavender. I then decanted the syrup into my grandmother’s lovely glass and put in the fridge to cool for an hour. I poured approximately 3 quarters lemonade to 1 quarter syrup. I’ve made two batches so far and enjoyed immensely.
I made Broccoli Cheese Bites


Combining my favourite vegetable with my love for appetizers has long since been on my to-do list. I finally made it happen and it was delicious. I found the straight-forward recipe on Pinterest. In a large bowl, combine all ingredients and use your hands to form small balls and place on baking sheet. Bake at 375° for 20 to 25 minutes.
2 cups broccoli florets, steamed and chopped
1 cup shredded mozzarella
¼ cup shredded marble cheese
½ cup breadcrumbs
2 egg
½ teaspoon garlic powder
½ teaspoon onion powder
I Spraypainted Tires

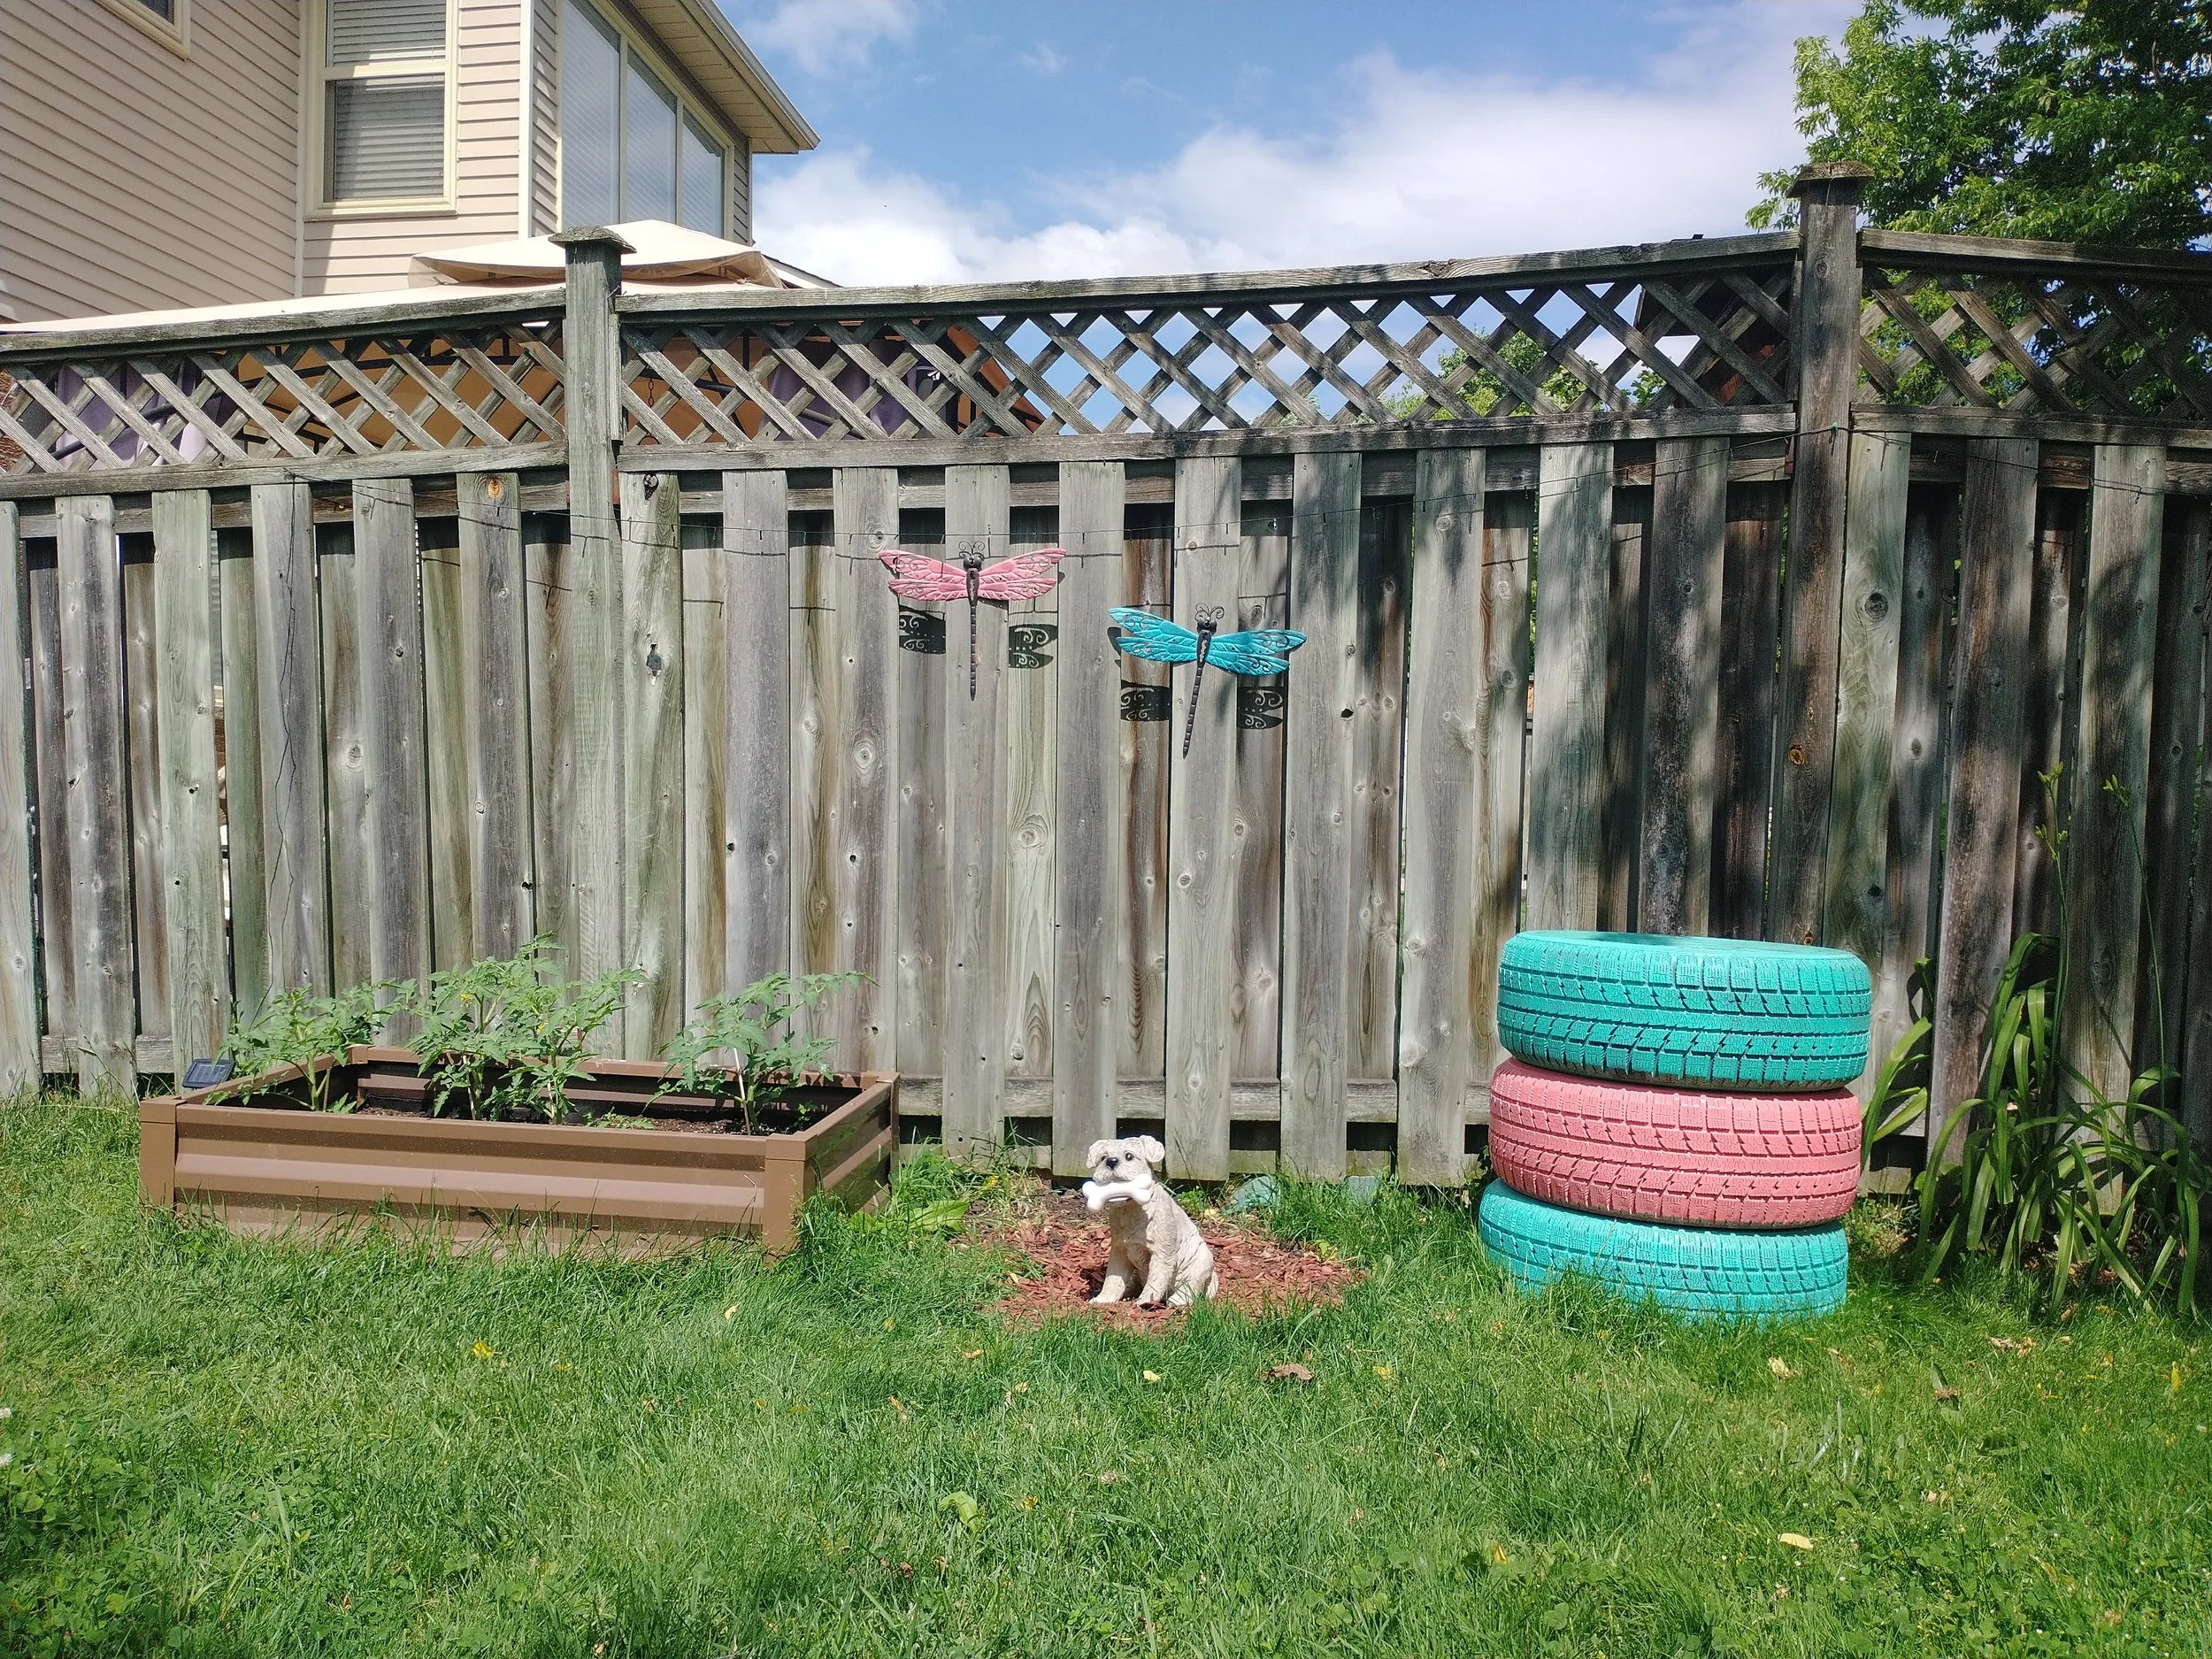
Following a breakup, I was stuck with three worn all-season tires (don’t ask me where the fourth one went). I immediately saw the potential. Having moved back in with my parents, I suggested we use them as a planter in the garden. My mom only agreed because I promised I would paint them and make them pretty. Three whole seasons later, I finally made good on my promise. We’ve used them to grow potatoes by the way, even when they were unpainted.
I had never done anything with spray paint before, but I’m very pleased with the result.
Having bought two cans of each colour, I could have done a second coat, but I like the distressed, faded look. The metal dragonflies hanging on the fence have a similar look, so it would’ve been weird if they tires were pristine.
The used Krylon Color Maxx Paint + Primer Indoor/Outdoor Matte Sunrise and Satin Sea Glass
I Propagated House Plants


I’m not sure if this technically counts a DIY, but let’s pretend it does. My precious pothos started out as a small cutting in 2019. She grew and grew and now climbs over the kitchen window frame. But lately she’s not been as healthy as she once was. I started worrying she would die, so I finally propagated her start a new plant. So far both mama and baby plant are doing well. If you’ve considered propagating your houseplant (especially if it’s a pothos), but were scared of failure, I am here to tell you go for it! The process is very simple. Cut the vine with at least 2 leaves already on it just below a node (where a leaf grows from the stem) Just leave the cutting in water for a few weeks until it starts to grow roots. Once the roots are approximately two inches long, it is ready to be replanted!
My friend Zoe also gave me a cutting of her gorgeous Philodendron ‘Birkin’, which is a bit trickier to cut then a vine-type plant. But I kept it in a happy face mug with water for three weeks until it started to grow roots. Trust me, it doesn’t take a green thumb to do these types of basic plant care.
I Made My Own Paper


This craft was not as easy as I expected, but that’s okay. I learned some lessons and will know for next time. As it turns out, I was rather ambitious for this first attempt by using two giftbags from Anthropologie, which is made from a rather thick paper. They were ripped and losing their shape, so rather than tossing them in the trash, I thought it’d be nice to give them a second life. In hindsight, it made for an ugly result. The final product looks more like cardboard than paper.
Step 2: After ripping the bags into tiny pieces, I soaked them in water for five days. According to my Google research, regular paper only needs to be soaked overnight. It might have only needed three days, but I was busy.
Step 3: Turn the pieces into pulp by mixing it all up in the blender. The texture of the mixture was surprisingly pleasant to touch.
Step 4: Add about 6 or 7 handfuls of pulp into another bowl with water - not too thick, not too thin.
Step 5: Submerge the mould and deckle (two wooden frames with a filter screen in between them), catching an even layer of pulp, let the water drain before transferring the sheet onto a cloth. Note: I purchased mine from Amazon for really cheap. In hindsight, I would have gotten a larger size, because the sheets turned out very small.
Step 6: Gently flip the mould and deckle onto the cloth and press with another cloth to remove all excess water. Note: This is where I failed during my first try. I did not press hard enough into the corners, which caused the sheet to rip when I tried to lift the mould and deckle. Note 2: The process started to work much better if I used a fresh dry rag for each sheet, which only goes so far because I only had so many old tea towels at my disposal.
Step 7: Leave the sheet to dry completely on a flat surface for approximately 24 hours.
I’m proud of my ten little sheets of imperfect brown paper. I have a few ideas for what I want to do with them, but that will be a later blog. I’m also looking forward to try this project again with different paper.